|
|
||
|---|---|---|
| arduino/wasd-ptz | ||
| img | ||
| .gitignore | ||
| LICENSE-CC | ||
| LICENSE-GPL | ||
| README.md | ||
README.md
Bescor MP101 Libre
Notes on using the Bescor MP101 motorized pan head hardware with libre software.
No proprietary applications, SDKs, or similar are used.
Development Setup
The development setup is using a LattePanda 3. It is an Intel based board with an Arduino Leonardo built on board.
This should be similar to using other Arduino devices plugged into USB ports.
Pins
Pins on the MP-101 cable. Starting at "7PM", just after the key, going clockwise:
Use	Color	Pin	ArduinoPin		Raspberry Pi 4 B Pin
---	-----	---	--------		--------------------
Speed	Yellow	1	? PWM			12 GPIO18
Left	White	2	D0			 3 GPIO2 (Orange)
Down	Brown	3	D1			 5 GPIO3
5V	Green	4	5V, second from left.	 2 5V
Up	Blue	5	D2			 8 GPIO14
Right	Black	6	D3			10 GPIO15
GND	Red	7	GND under ICSP		 7 GND
The "ArduinoPin" column is how the Arduino pins on the Panda are labelled.
On the Raspberry Pi 4, with Raspbian installed running pinout will
majickally print the pinouts.
Wire Harness
I made a quick and dirty wire harness that works. My MP101 kit came with two extension cables. I used one of those to use the male headed to plug into the MP101, and the newly cut wires to connect to pins to plug into the Panda Arduino. I had short jumper wires with pin headers on each end. For the Panda male/male wire with headers is needed. If the board being used has pins not headers, a male/female wire jumper will be needed. In lieu of connecting the pins to the wires via soldering, WAGO crimpers were used. They work great and easy++.
Photos
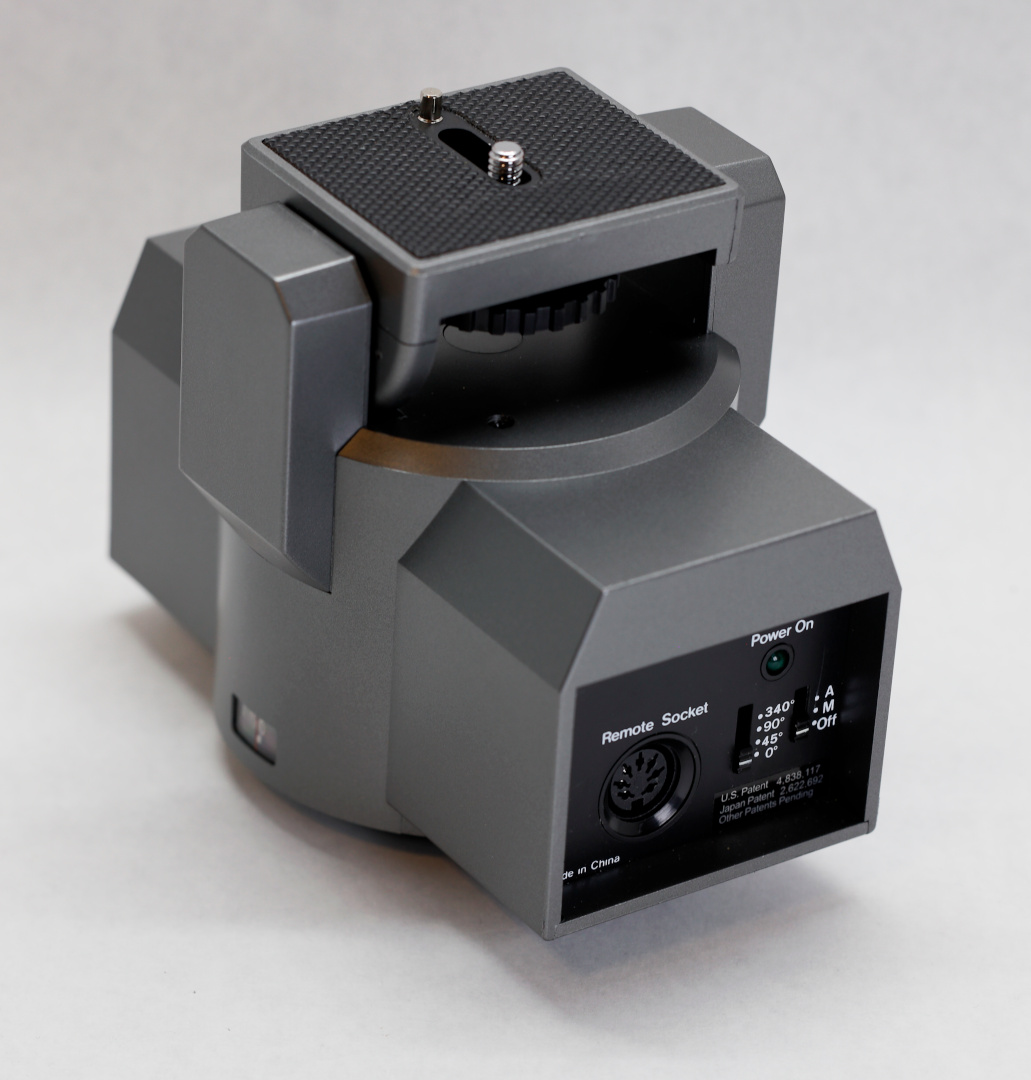
 Photo of Bescor MP101 motorized pan head panel.
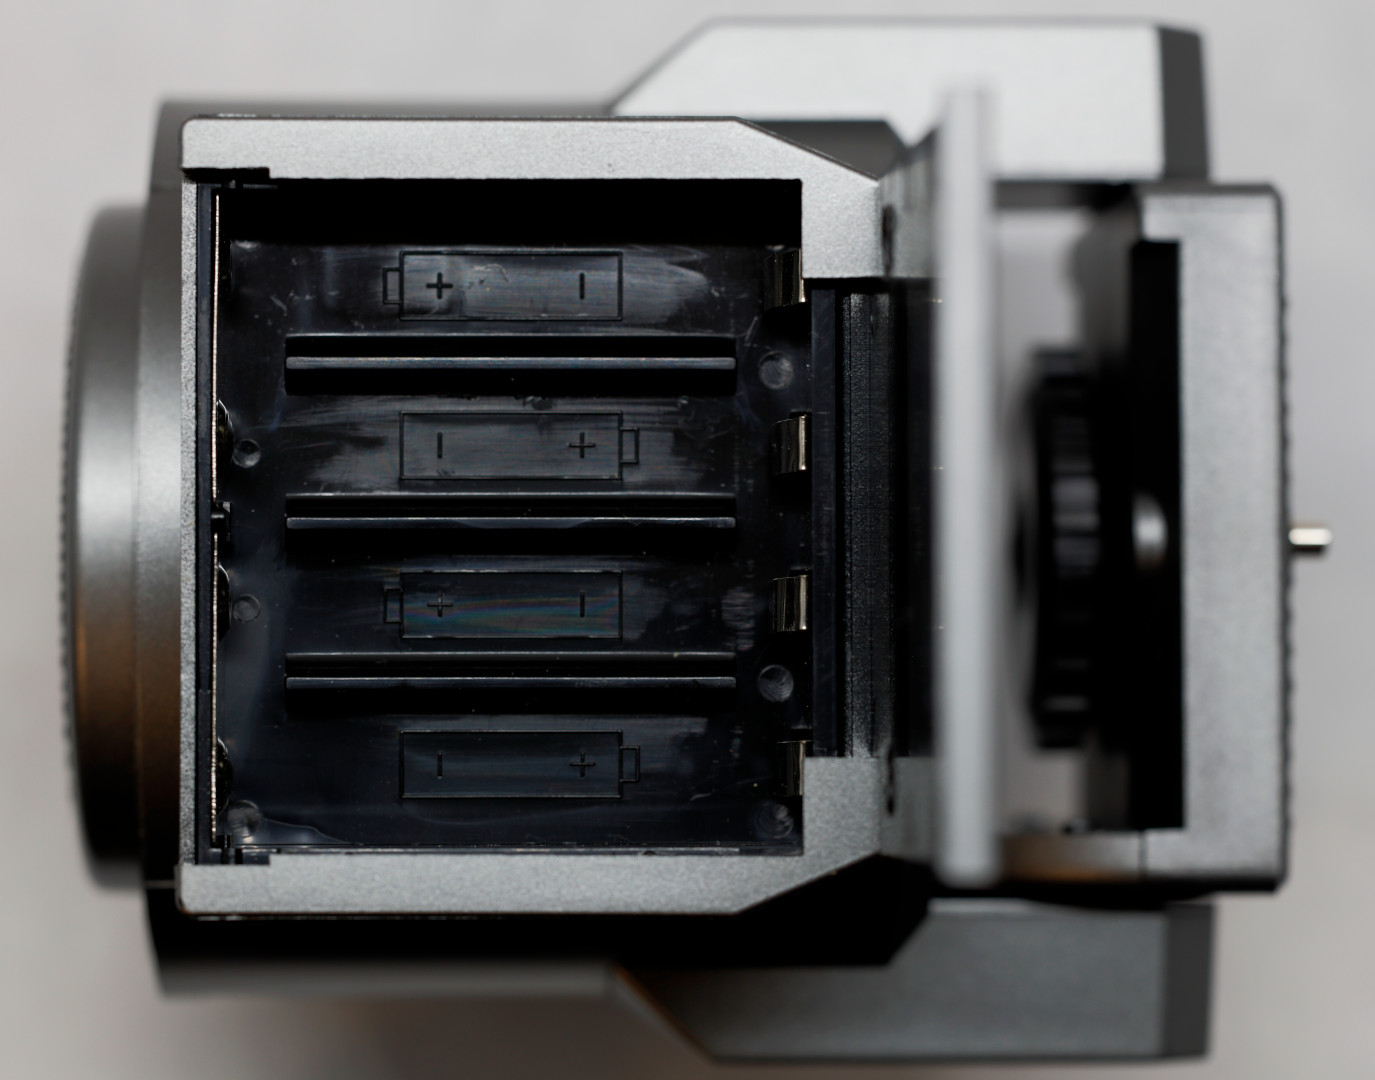 Photo of Bescor MP101 motorized pan head battery compartment.
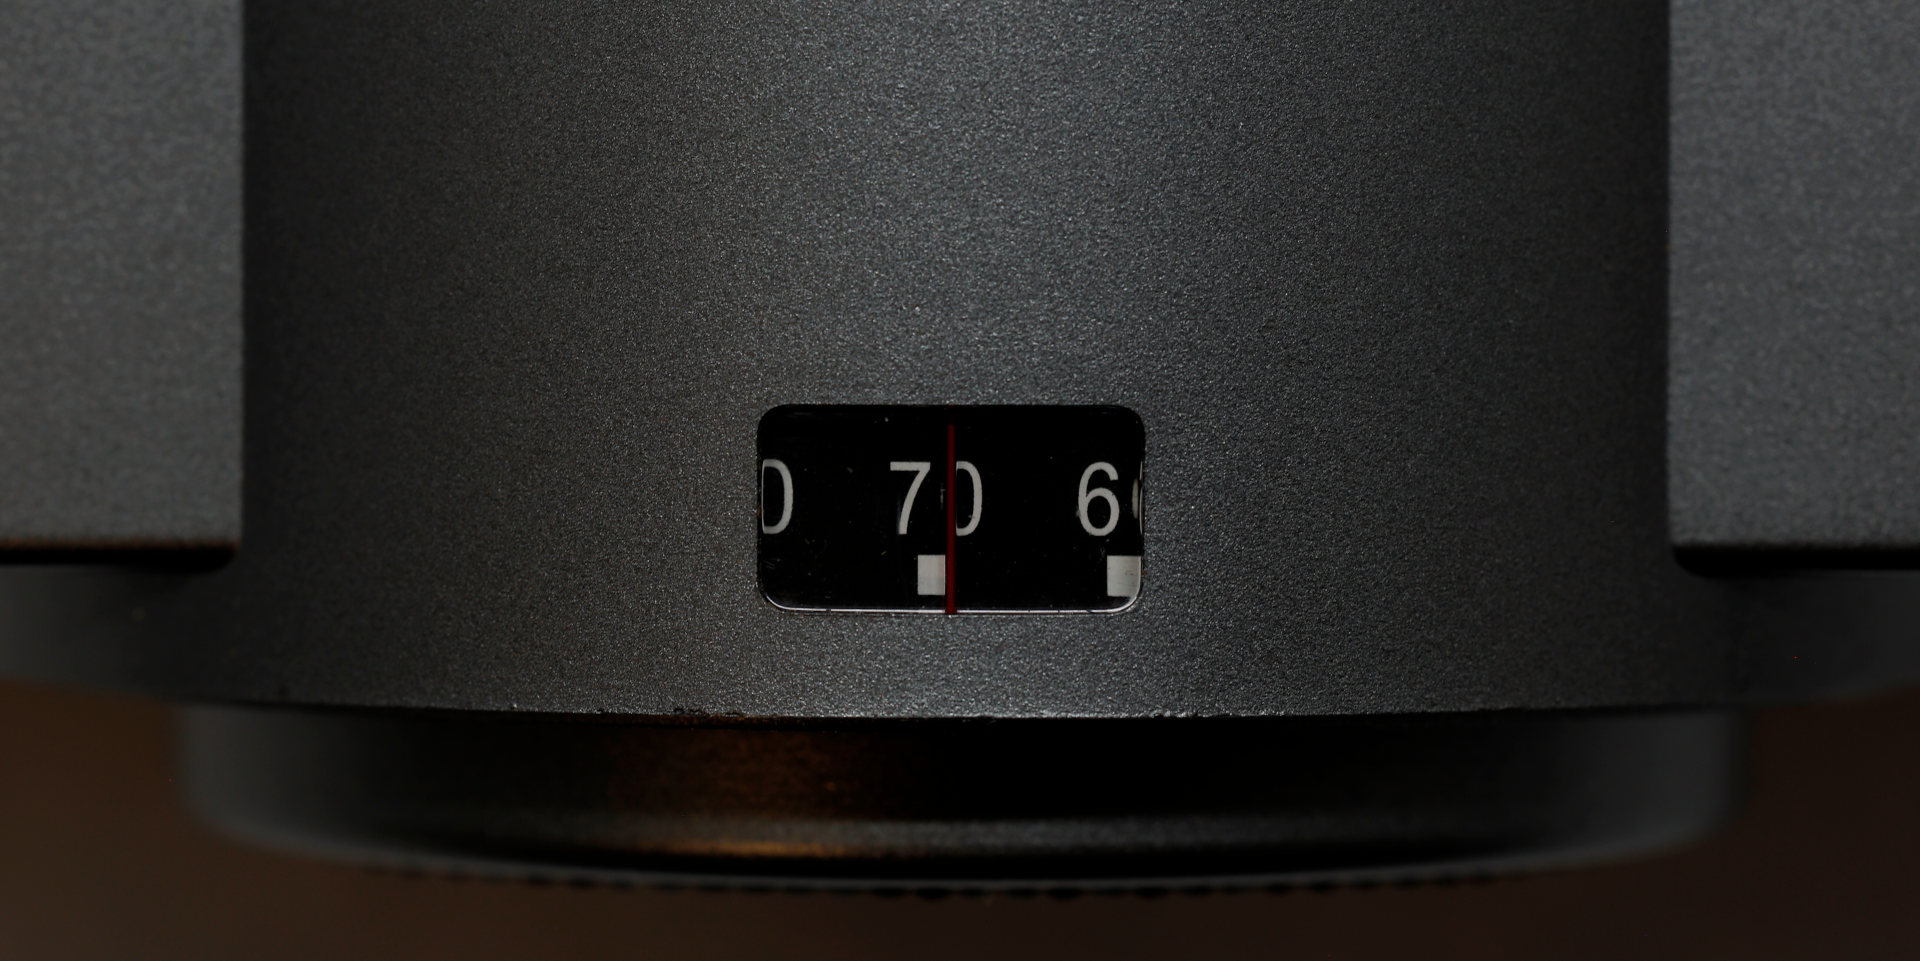 Photo of Bescor MP101 motorized pan head rotation degrees readout.
 Photo of Bescor MP101 motorized pan head DC 6V 1A input.
 Photo of Bescor MP101 motorized pan head camera mount.
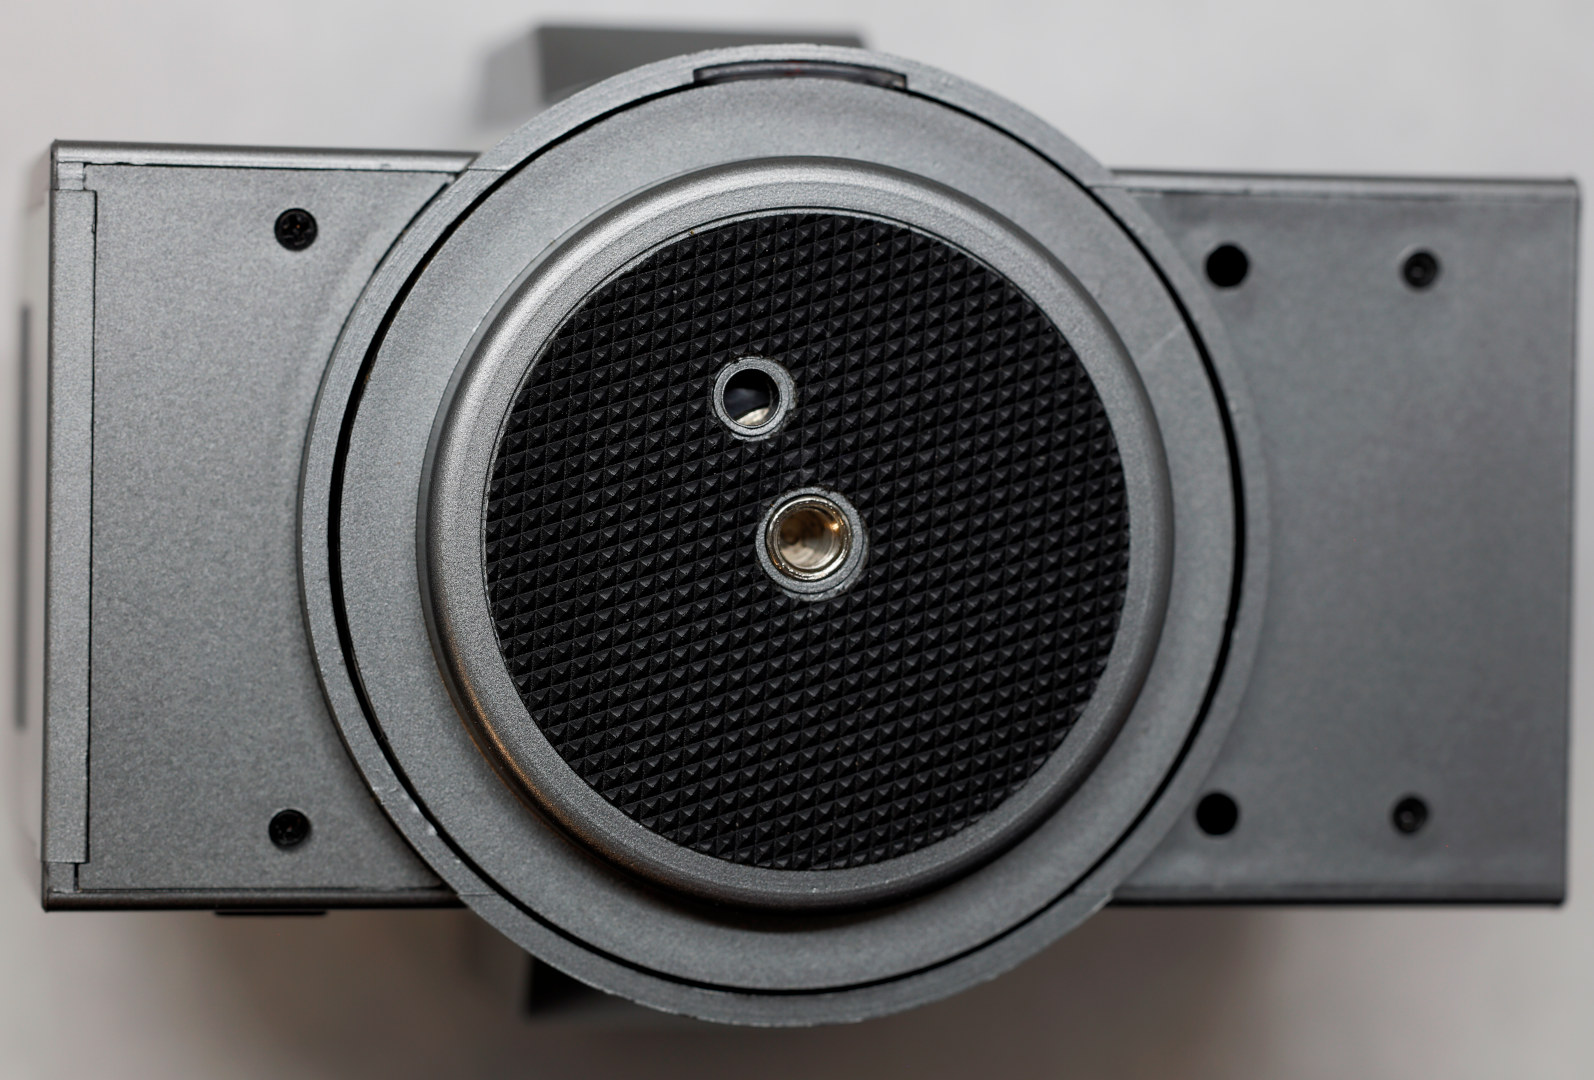 Photo of Bescor MP101 motorized pan head tripod mount.
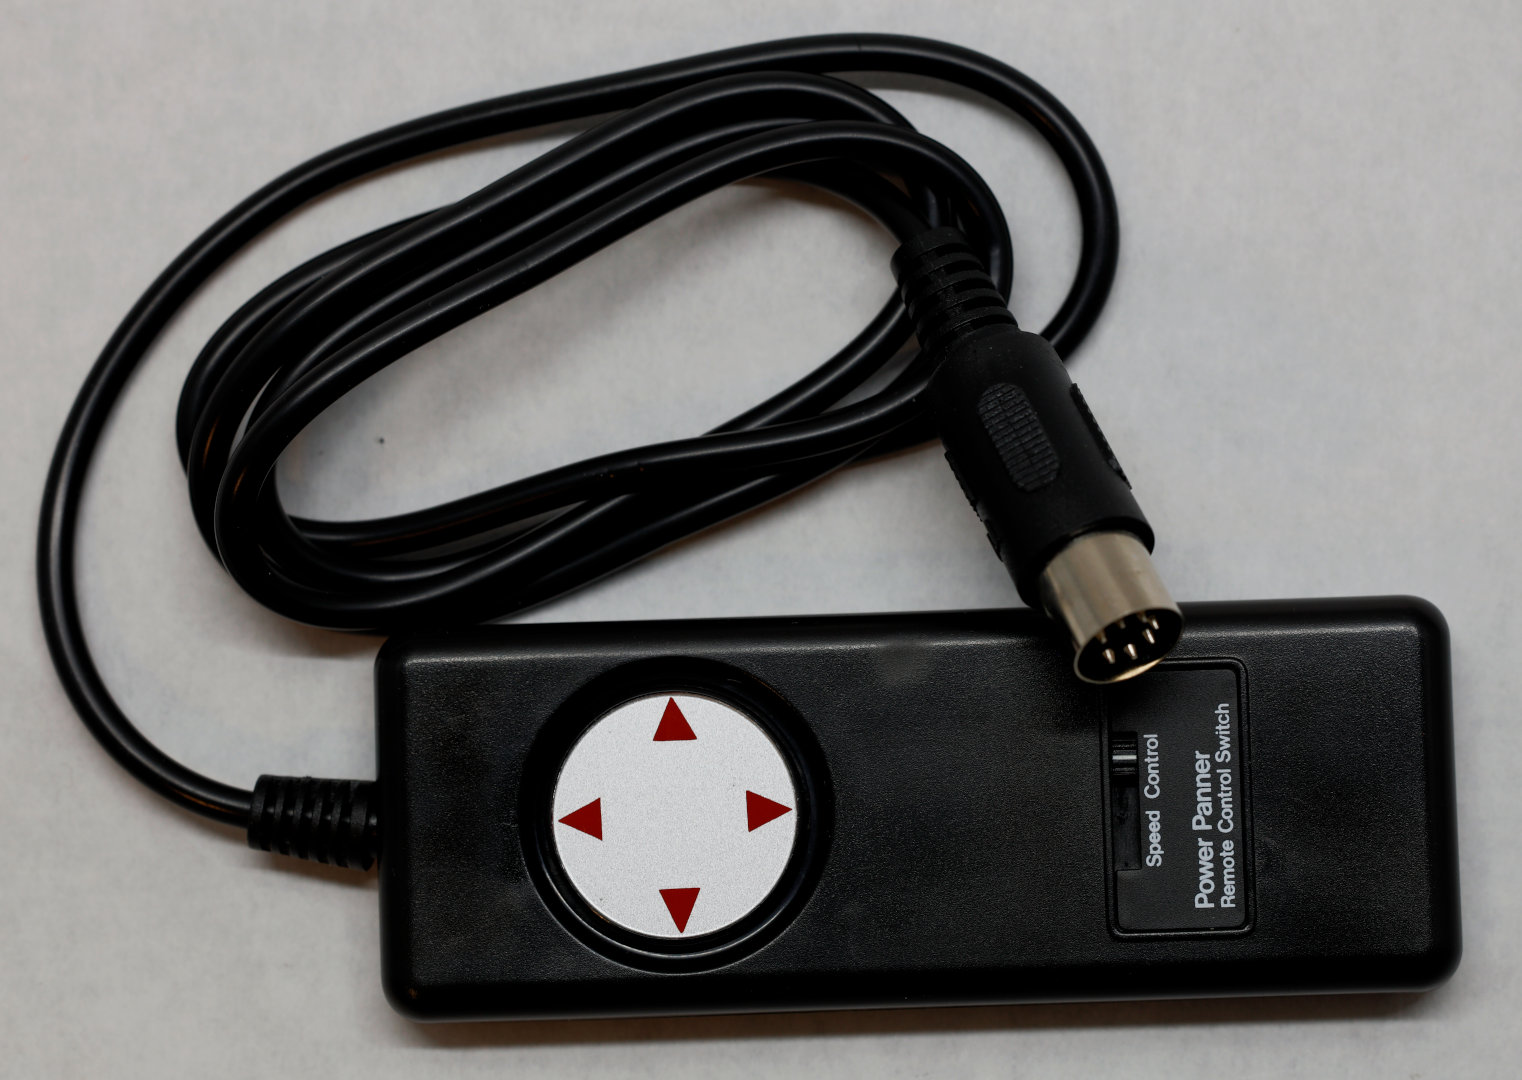 Photo of Bescor MP101 motorized pan head remote control.
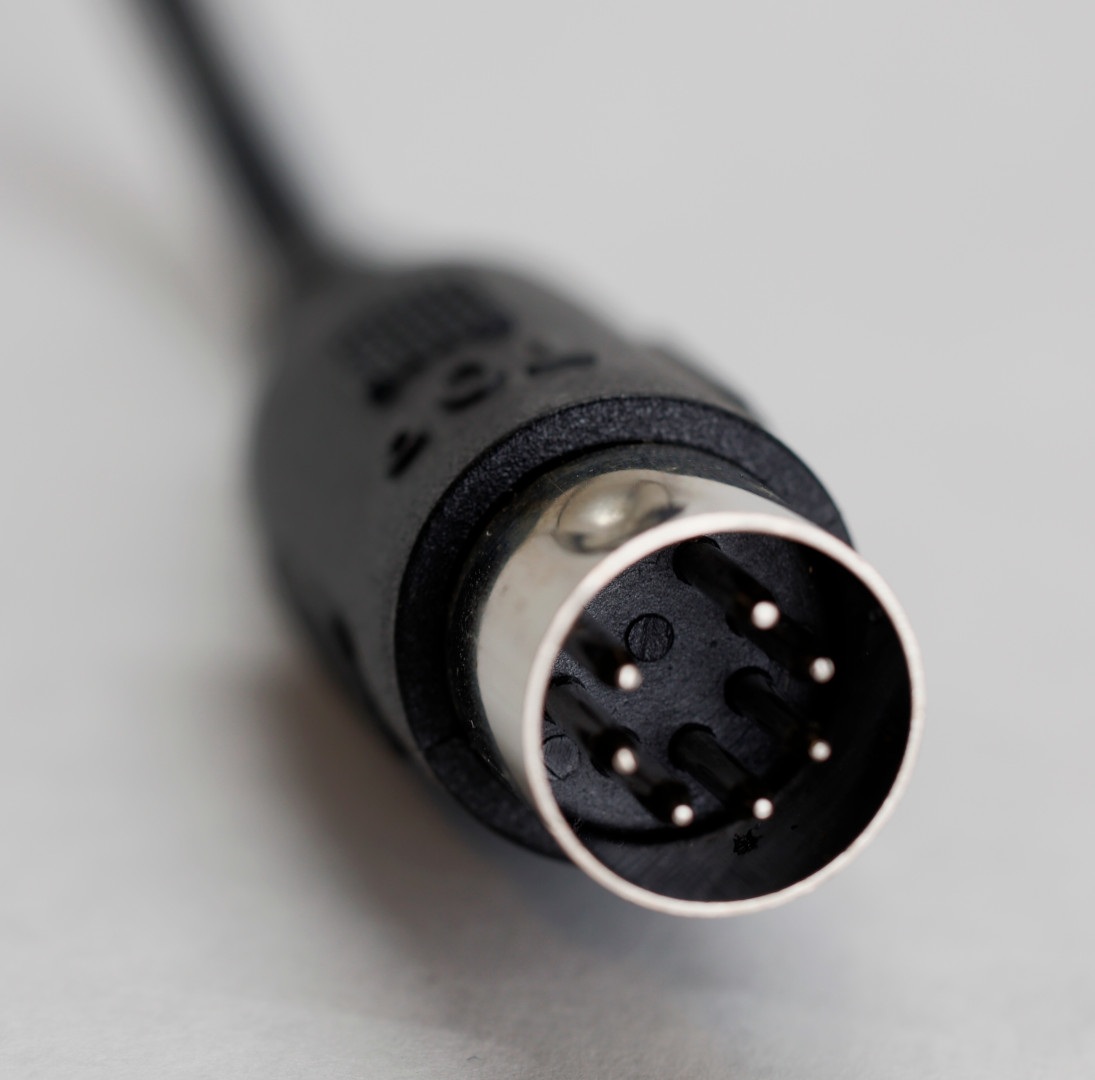 Photo of Bescor MP101 motorized pan head male cable.
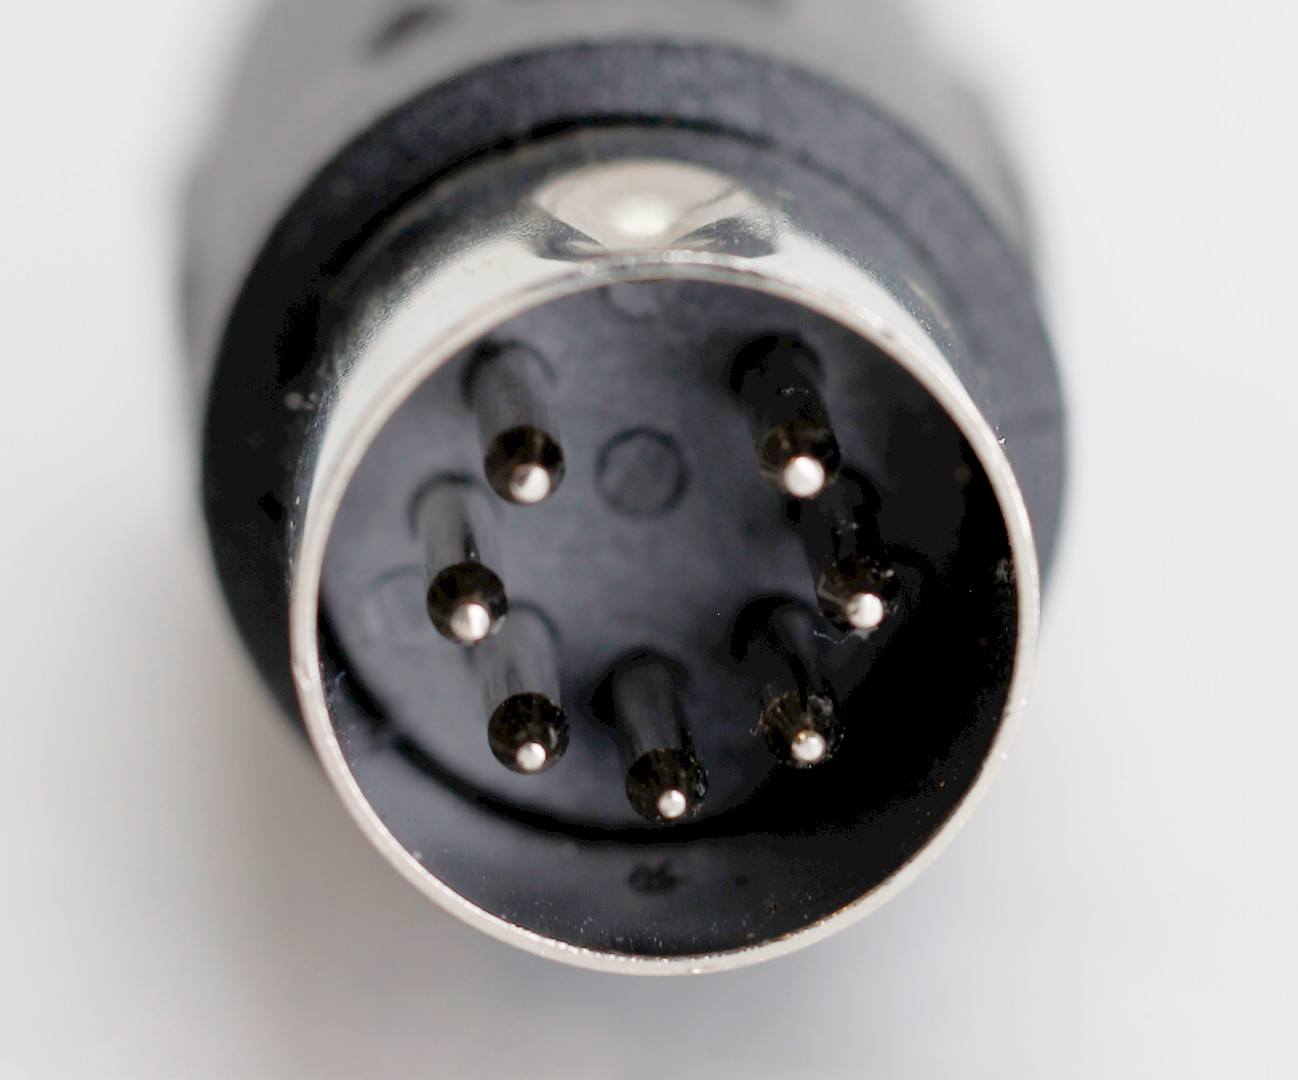 Photo of Bescor MP101 motorized pan head cable pins.
Misc
Notes.
-
LattePanda3 docs say their Arduino Leonardo files are needed.
-
The LattePanda3 Arduino Leonardo files are old.
-
I can't get the LattePanda3 Arduino Leonardo files to work.
-
The Arduino Leonardo files in Arduino 2.0.4 appear to work fine with the LattePanda3 Leonardo. XXX
Status
Early alpha. It moves in four directions, but doesn't stop or have regular controls yet. Just mapped out the pins to Arduino software.
Disclaimer
I'm a computer sysadmin, not a video or camera expert. This is just to explore how to use a free toolchain.
Copyright
Unofficial project, not part of Bescor. Upstream sources under their respective copyrights.
License: CC By SA 4.0 International and/or GPLv3+ at your discretion.
Copyright © 2023, Jeff Moe.